By the end of this article, you’ll have a Chatbot that can be deployed onto your website to capture leads for your business. The lead information will be sent to a Google Sheet, using a simple Zapier integration. I’ll be using Chatbot.com to create this bot, so please signup if you haven’t already — it’s free!
Starting with the basics…
Once you’re logged into Chatbot.com, you’ll be presented with the main dashboard area. On your side bar (to the left), click on stories.
Here, we’ll create a story with the name Lead Generation, feel free to add any other name or text to the description field.
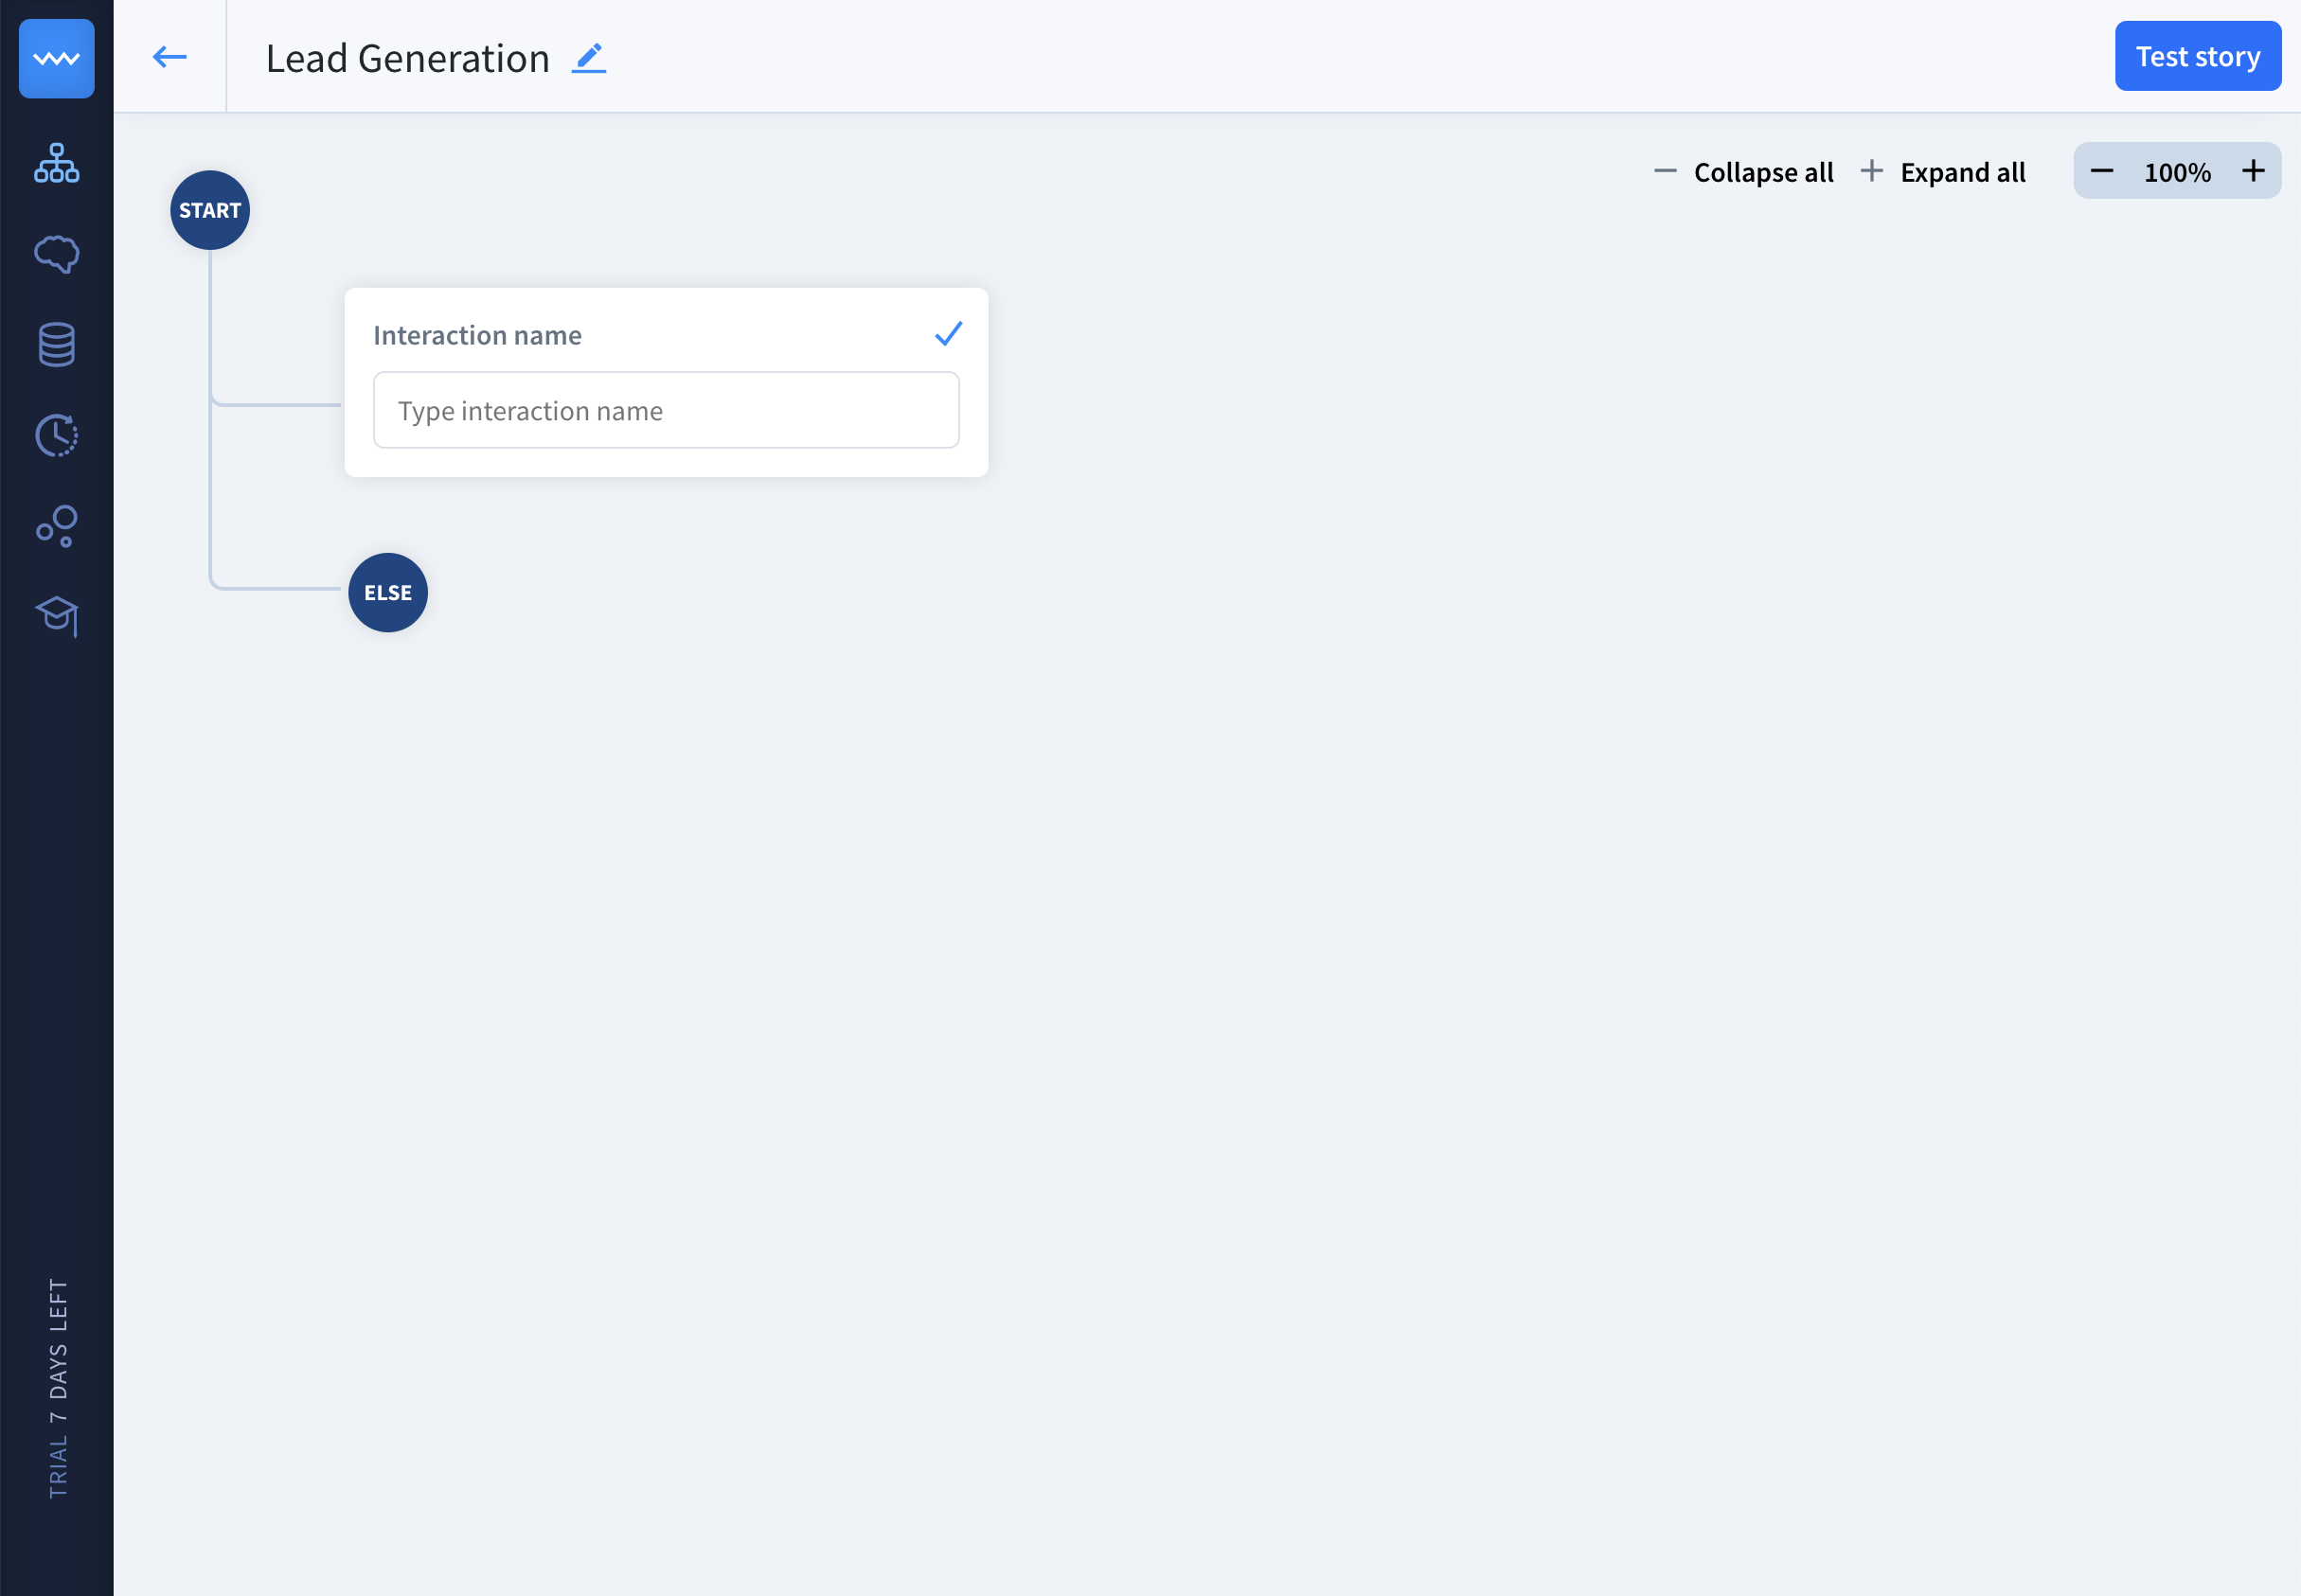
You’re now inside what’s called a Story. Stories are basically scenarios that happen in your bot. You’re able to connect with different stories to create various functionality.
Let’s first create an interaction that we can then later link to. Go ahead and enter an interaction name in the text field, you may need to hit save!
You then want to click on the circle that says start, at the top. You’ll now see the default bot responses, and some optional responses to the left with the functionality that we can add in. This is where everything starts out, and because we’re creating a lead generation bot, let’s remove what is currently in the welcome messages. You can do this by clicking on the trash can.
Then, add in the button response. You’ll want to add some text, and add a default button that says yes. Your screen should look something like this:
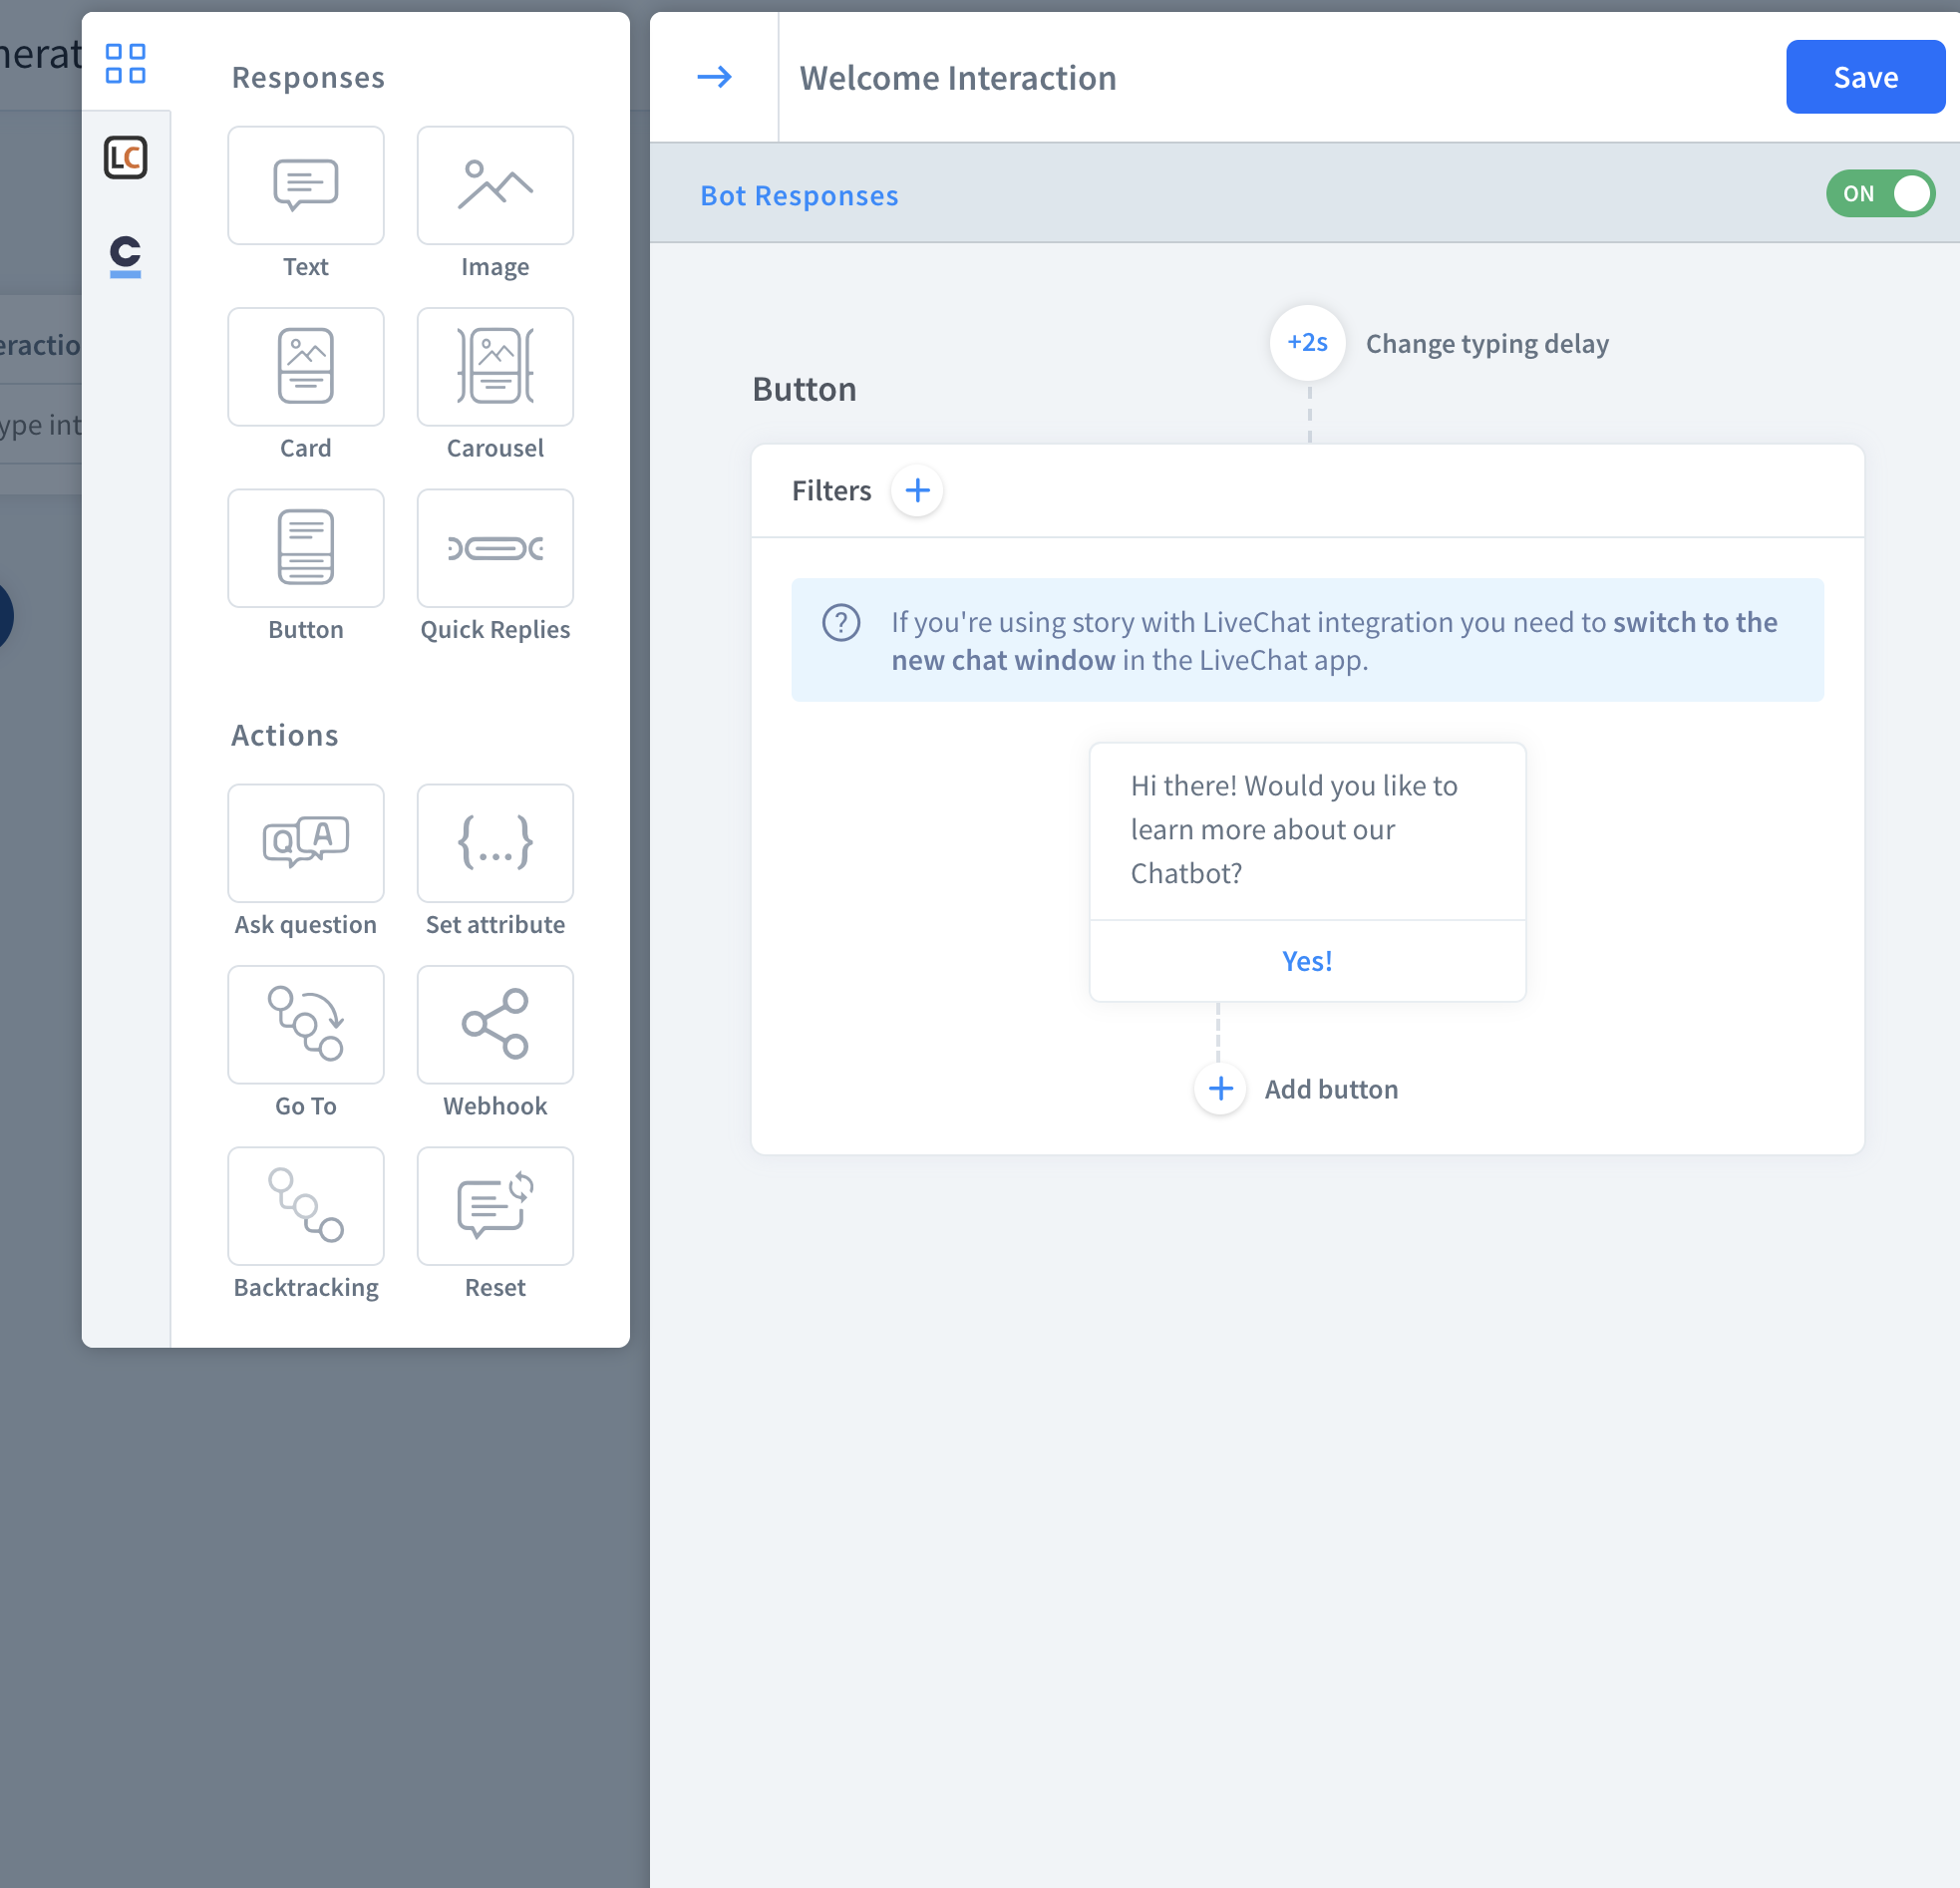
Now click on the button, and set the button type to ‘go to interaction’, you’ll then want to link the button to the interaction that we have just created above. You should automatically see the name of the interaction to link with, then hit save!
Let’s now head over to the interaction that we created earlier on, this is where we’ll take the user through some steps, after they’ve selected to opt in from the welcome message.
We’ll start with a simple text reply, followed by two question responses. Start by selecting the text response, and add in your message. Next, click on the ‘ask question’ action. Here, you’ll want to ask for the customers details. You can ask for any detail you like, just make sure you save the answer as an attribute.
You can select a validation type, which is mainly used when asking for an email address, phone number or other integer, to ensure the user provides what they should.
Make sure you save the answer to an attribute — just add in some text which represents the answer the user gives.
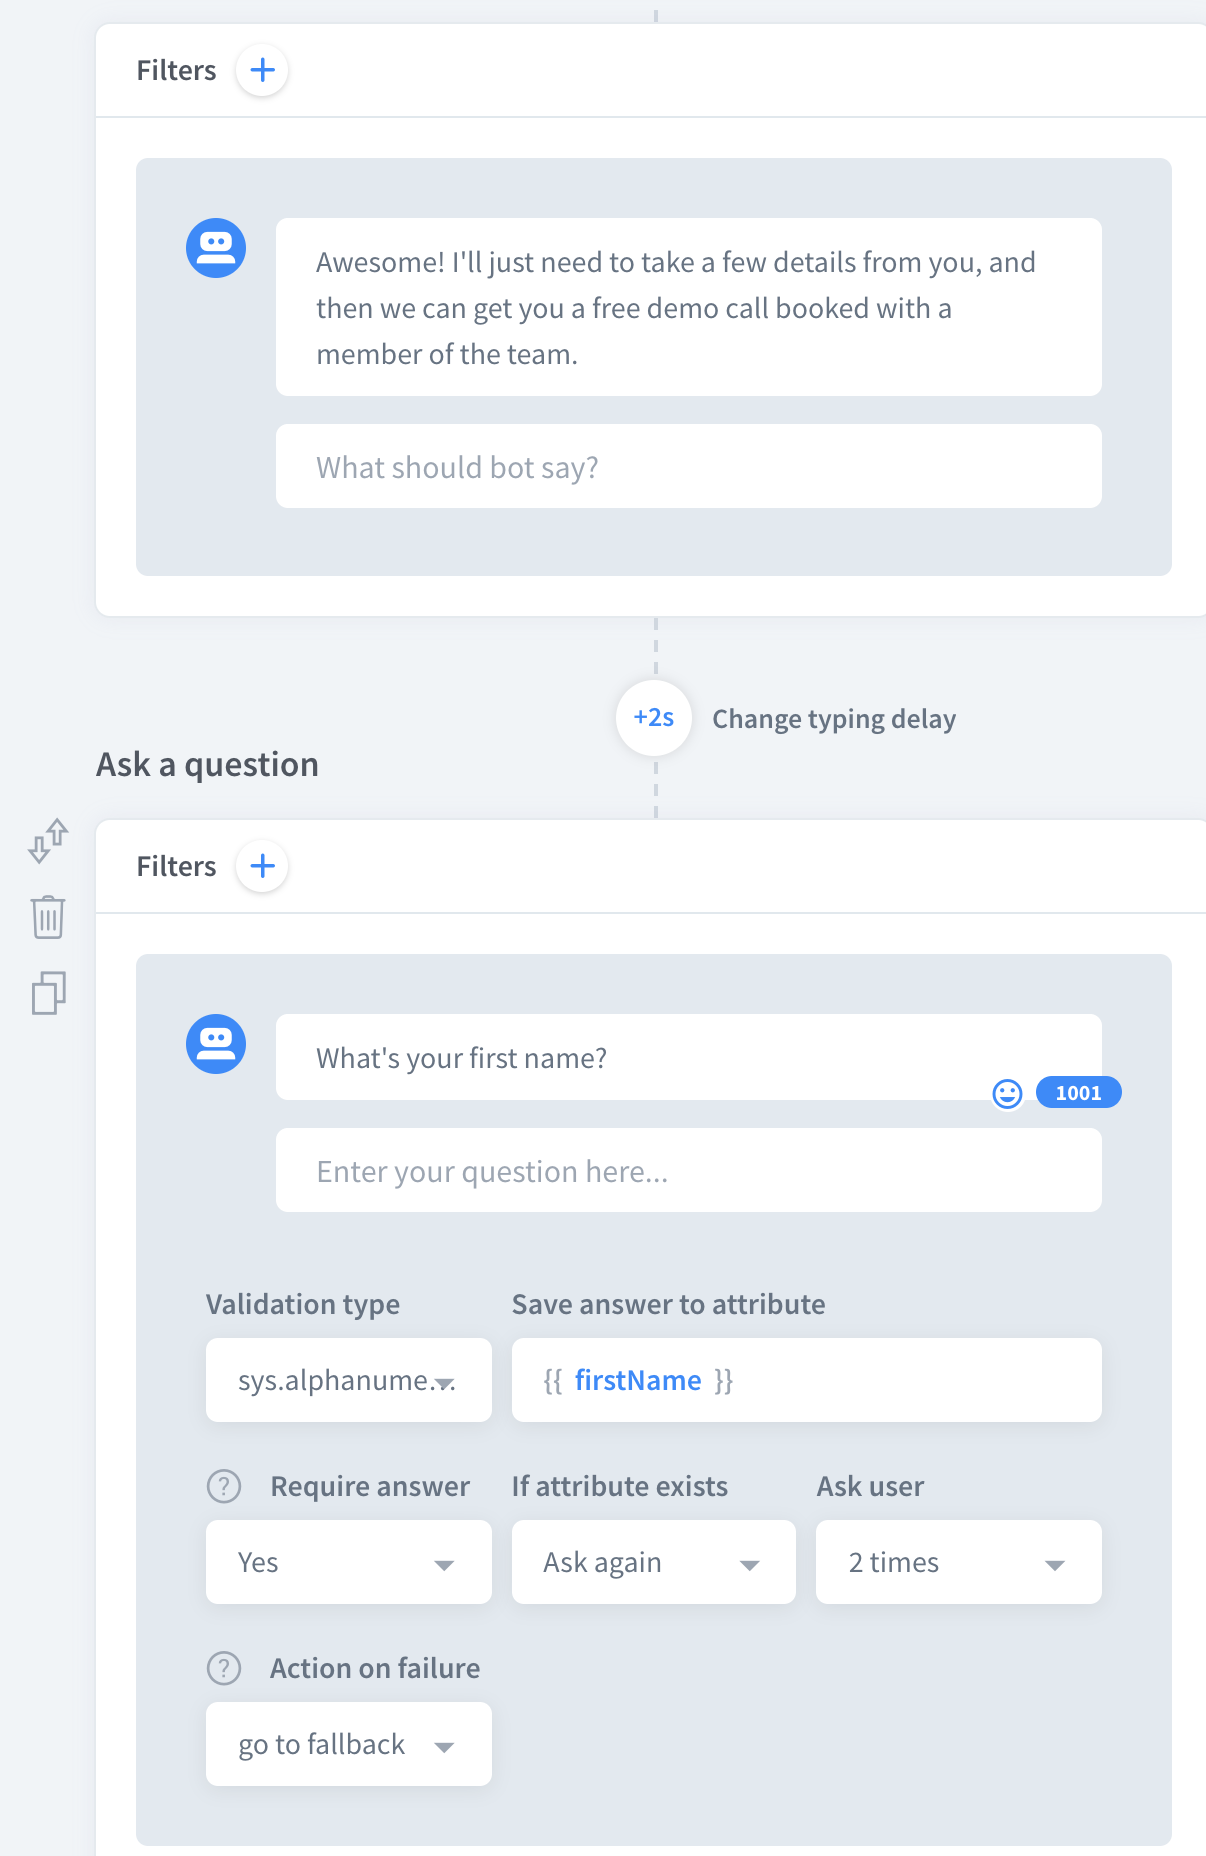
In my example, I’ll only be asking for the users first name and email, but feel free to add in as many fields as you like… it all depends what you want to capture from each lead. Once you’re done with asking for the relevant lead details, finish with a simple thank you message.
To personalise your bot further, I recommend mentioning one of the attributes that the lead gave you, for example their name.
As you’re writing your text response, you can include the attribute that you created further up into the message. In my case, to thank the users name I add: {{firstName}} in the text response.

Then click save!
Great work, you’ve now created the basic interactions required for your lead generation bot. If you now head back to the story section, you’ll be able to test your bot by clicking on test story at the top.

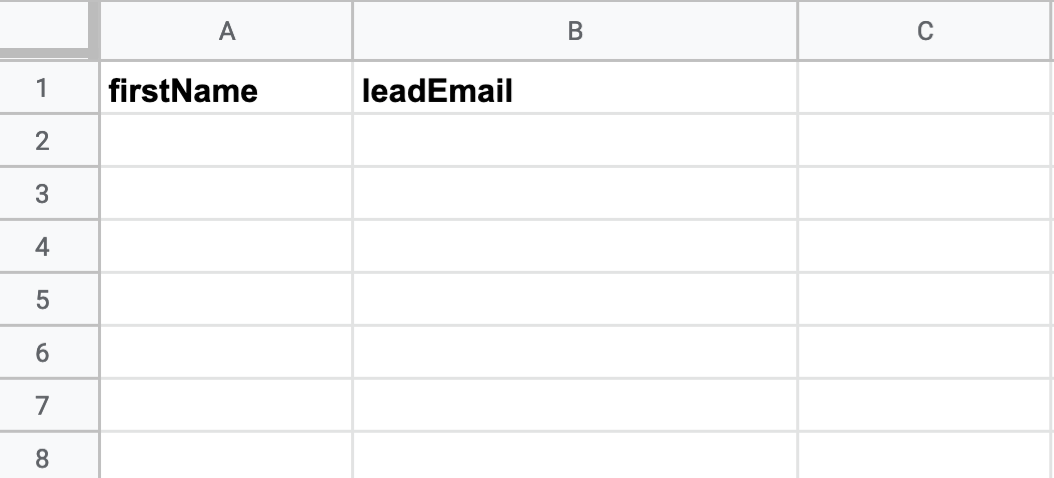
Providing that everything is working as it should, then we can move onto the final step — sending the data to a CRM. For this, you’ll need a Zapier account, and a Google Sheet to store the details. Create a brand new Google Sheet, and enter in the relevant cell labels, which will match up with the data captured from the bot. Here’s my example:
Now, head over to the Zapier integration which can be found on the side bar, above the graduation hat. After clicking on the Zapier integration, click on create a new Zap, and select Google Sheets. Either login to your Zapier account, or create a new one.
Follow through the steps, and you’ll be asked to connect your Chatbot.com account.
Select the story that we’ve created in this tutorial, and the correct interaction should be the name of the interaction which grabs the leads details.
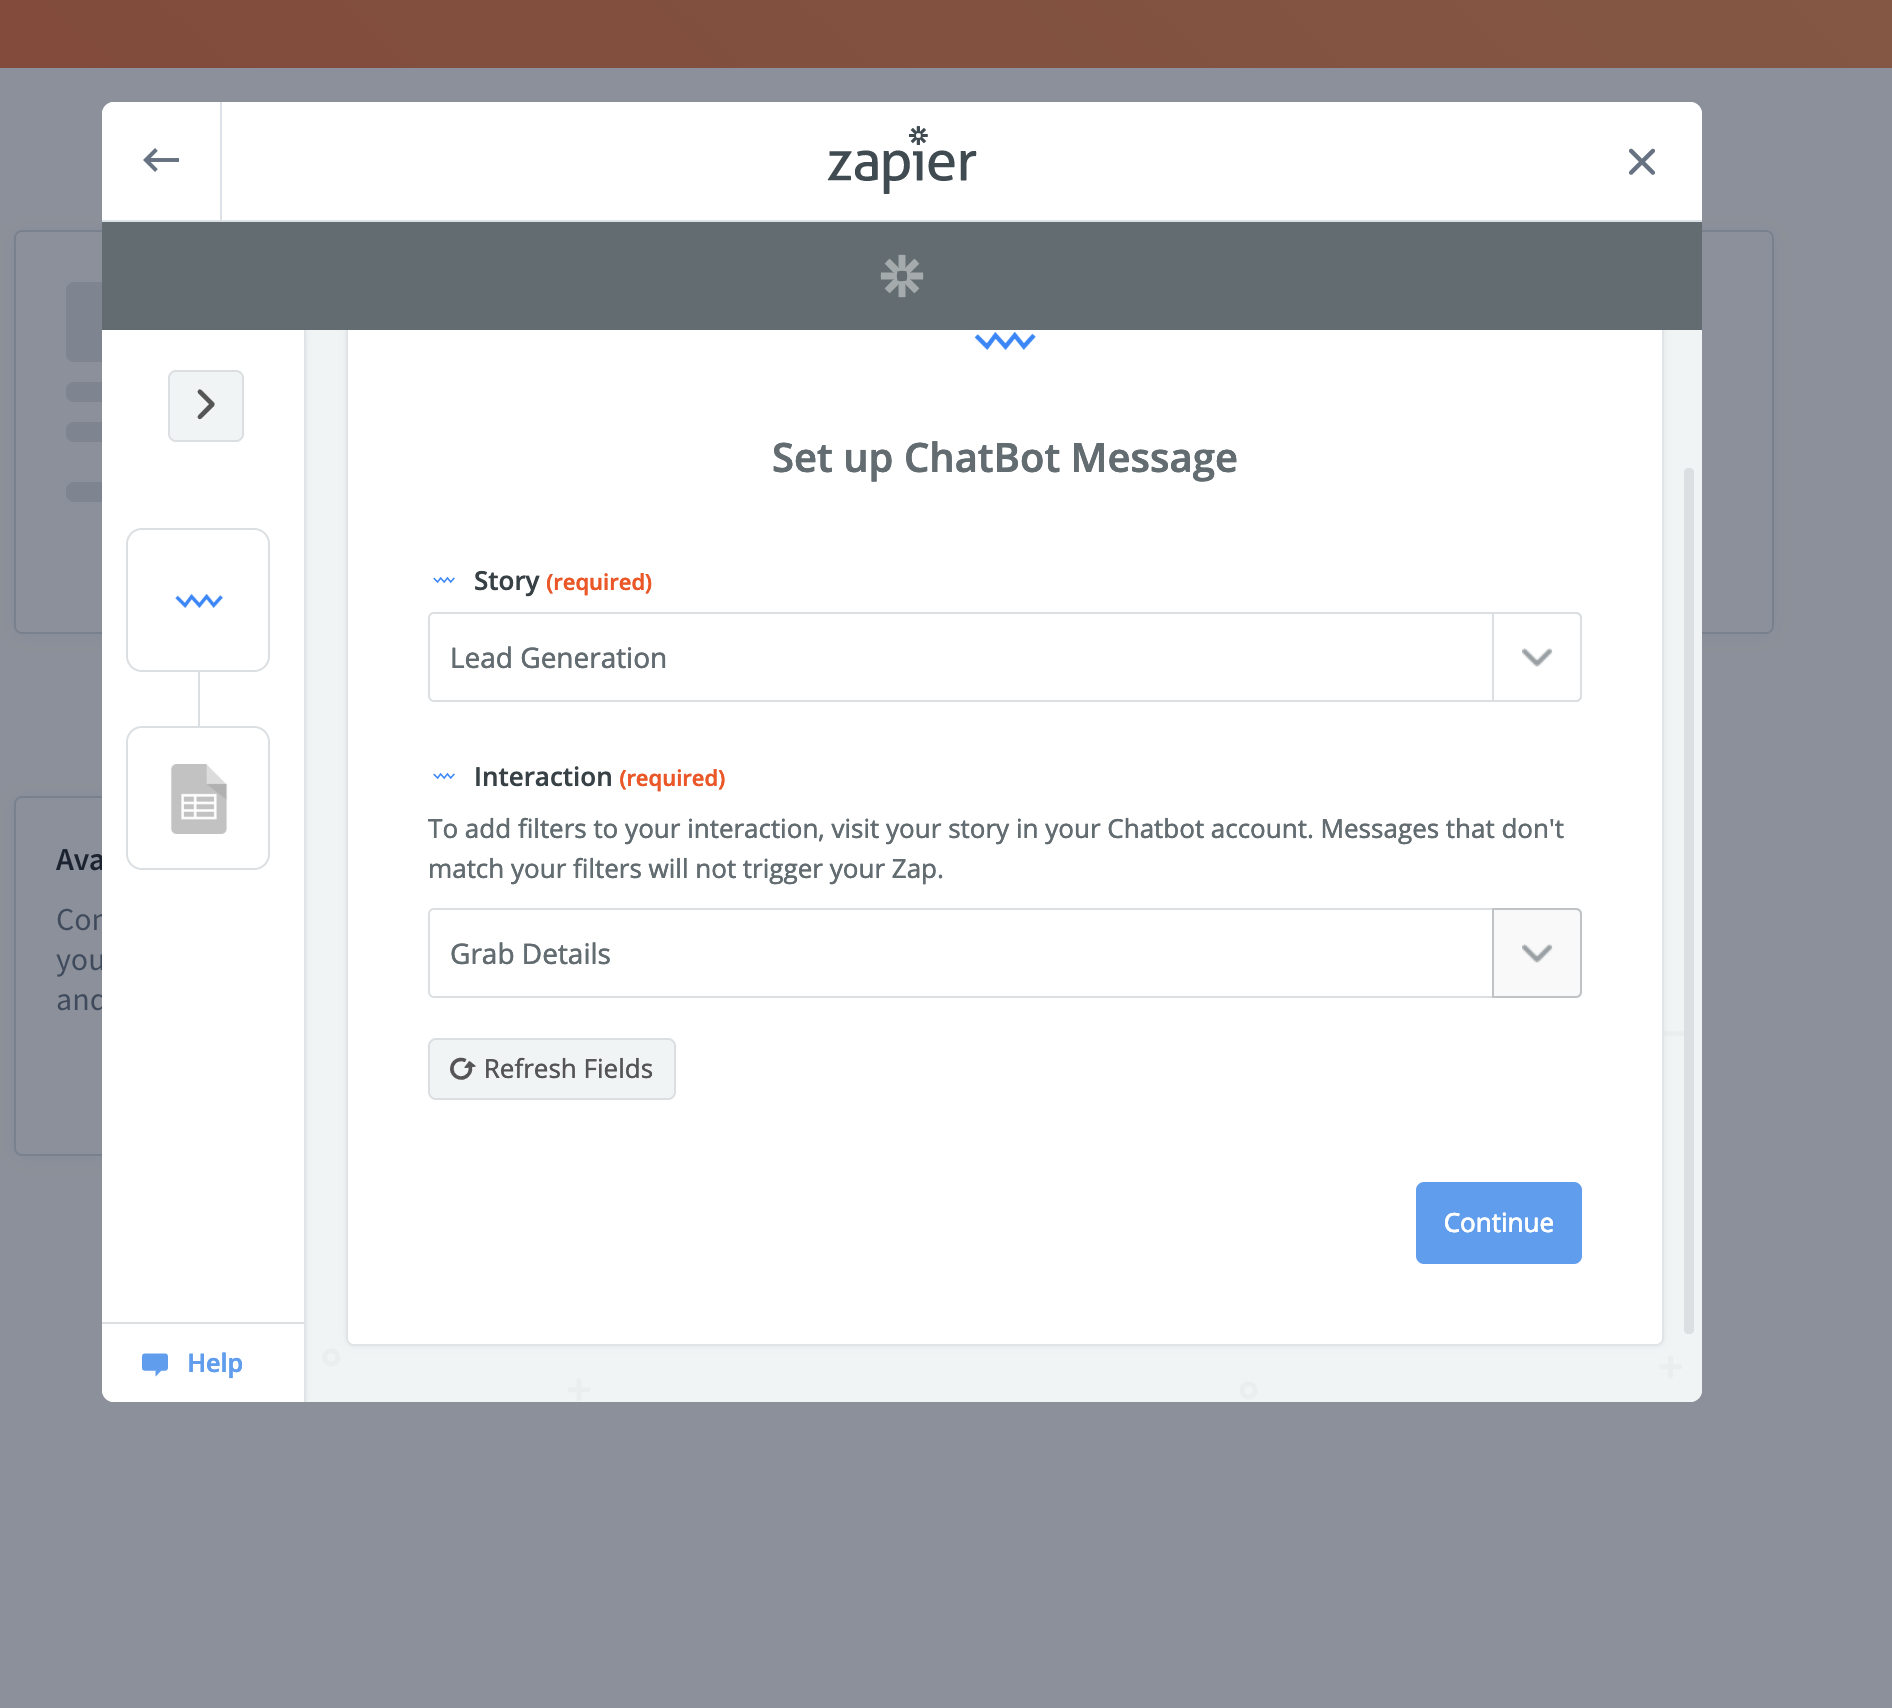
Then, keep clicking continue until you reach the Google Sheets section. Here, you’ll need to connect to your Google account, and then select the Google Sheet which we created earlier on.
Next, add in the relevant attributes to match with the relevant fields in your Google Sheet. For example, my first name cell should include the {{firstName}} attribute. Feel free to use the + button on the right, which should help you automatically select the correct attributes.
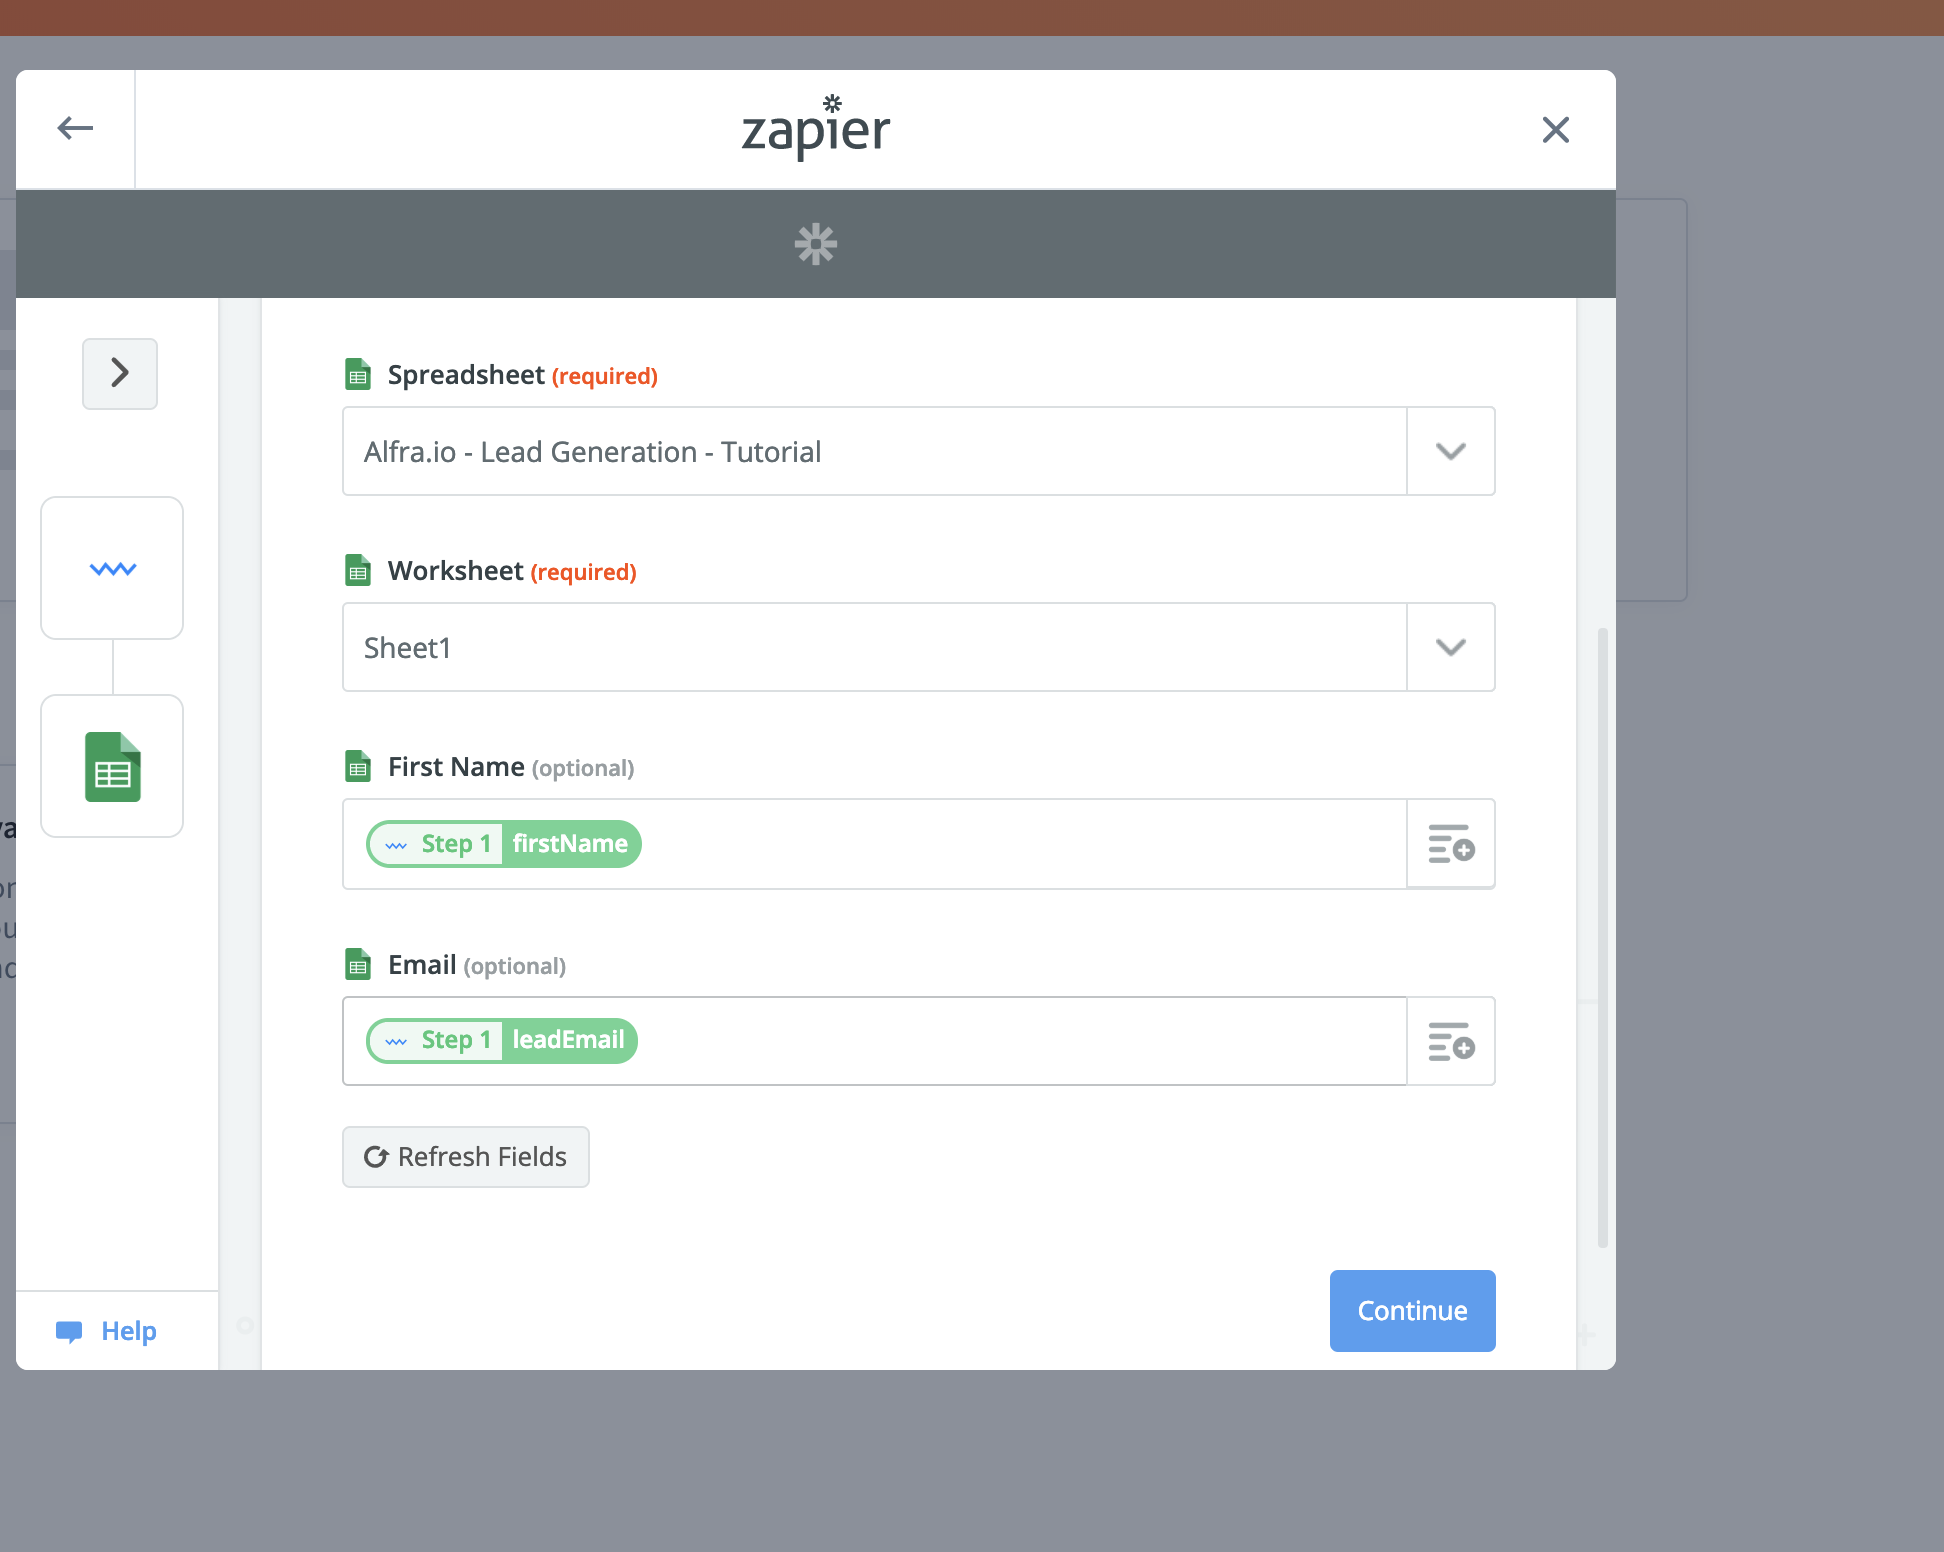
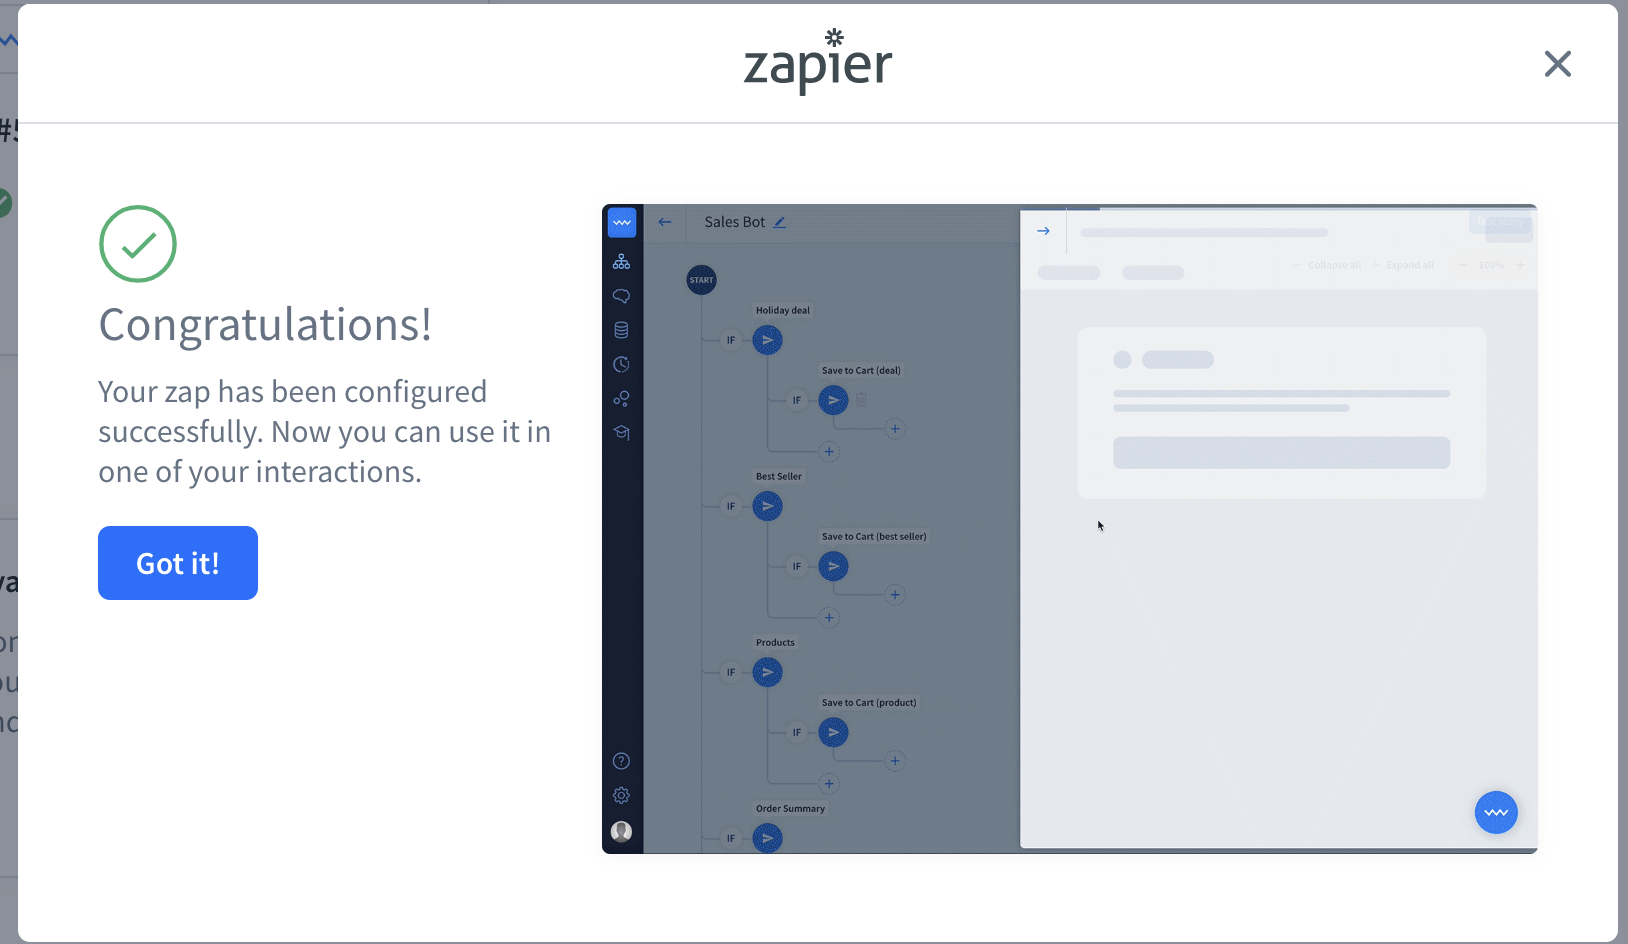
Then click on continue, you’ll be asked to confirm and check what you have just entered, followed by a final confirmation which should look like this:
We’re almost done! Let’s now go back the story, and click on test story. This time, the data you enter should be sent straight to the Google Sheet. If all works well, you’ll be able to see the details you just entered inside of the Google Sheet.
We just now need to deploy your Chatbot. Head over to the integrations tab on Chatbot.com, and select the Chat widgets. Then select the story that we created, and select create widget. You’ll then be presented with the script which can be implemented onto your site, before the closing </body> tag.
If you’re using Wordpress, then I recommend downloading a plugin called Insert headers and footers . Once downloaded and activated, head over to Settings on your Wordpress site, and you should see the plugin.
Add that code from Chatbot.com into the header section of the plugin and then click save.
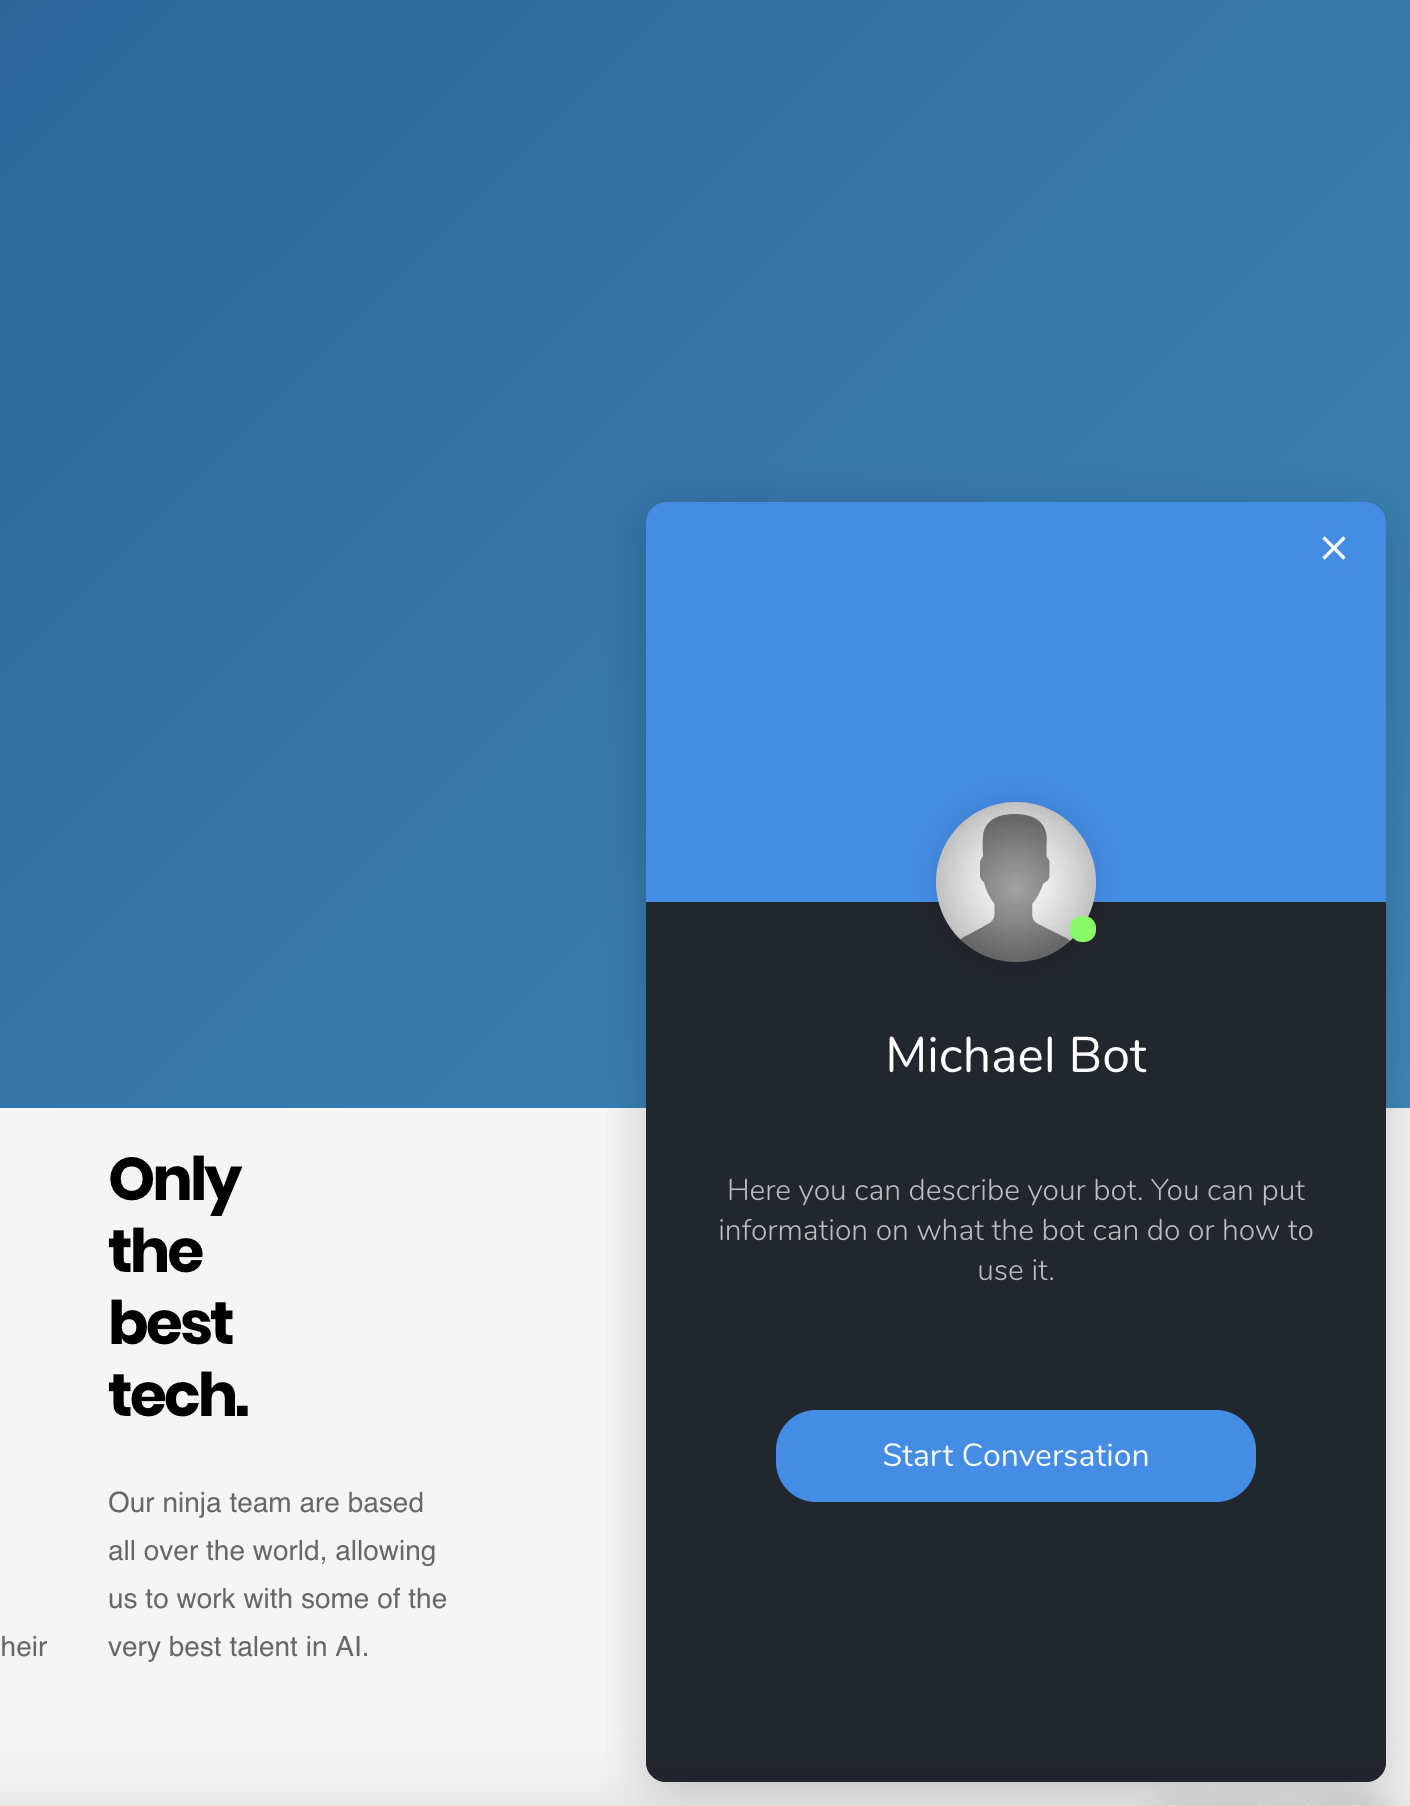
Head over to your site, and you should see the Chatbot live on every page.
For those who have correctly followed the steps above, but still don’t see the bot, try adding a plugin called WP fastest cache, you’ll be able to then refresh the cache of the site and re-load the script.
Head back over to Chatbot.com, and click on customise (you should be able to see this after getting the script code). Here you can edit the name of the bot, colours and a basic description. Because you’ve added the script, any changes you make are sent straight to the bot within 30 seconds after they have been saved.
Congratulations!
You’ve now created your first Chatbot, which captures leads on your website and sends them straight to a Google Sheet, using a Zapier integration.
In other tutorials, I’ll be going much more complex so be sure to follow me to always be alerted on those up coming articles!
Thanks for reading, and happy botting!


